Maybe you’d like to make a cute DIY farmhouse sign or maybe customize a t-shirt. When it comes to vinyl crafting, there are so many fun projects you can make and create. But how do you even get started? What supplies do you need? What even is a weeding tool? Keep reading to find the answers to these questions as well as tips and tricks to help along the way.
Quick Navigation
Vinyl Crafting Supplies You Need To Get Started
Having these 10 essential items will make it possible to bring your ideas to life!
1. Electronic Cutting Machine + Software
This goes without saying, but first things first, you need an electronic cutting machine and design software to cut vinyl. Most vinyl cutter brands have their own software program that is free to use.
Vinyl cutters are so fun to use and the ones listed below can work with not just vinyl; but with various other materials like paper, cardstock, and some fabrics. They also have different tools and add-ons like rotary blades and sketch pens to allow for more than just cutting. The creative possibilities are endless!
Popular Vinyl Cutters
The most well-known brands are Silhouette and Cricut, but others are available such as the Brother ScanNCut.
All of the programs associated with the cutters below support the basic file formats of design files like SVG, DXF, PNG, and JPEG that are used most for vinyl crafts.
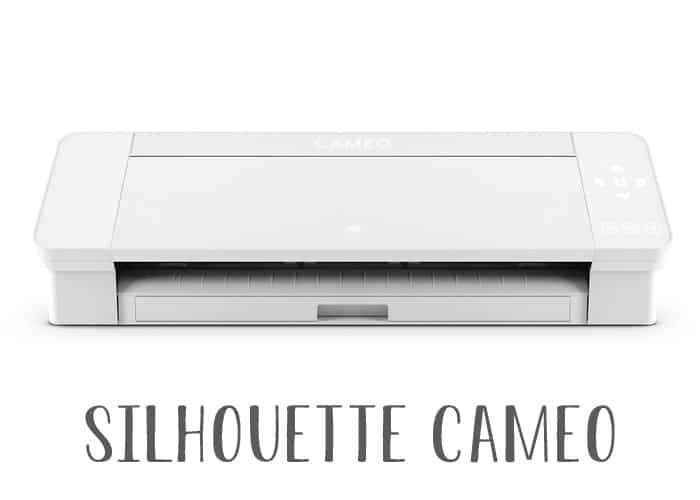
- Silhouette: Silhouette has 3 different types of machines: Cameo, Curio, and Portrait. Each have different functions and size capabilities. Silhouette Cameo is their flagship model and the one I personally use. I absolutely love it!
Silhouette’s software is called Silhouette Studio. It is free, but it does have a paid upgraded version called Designer Edition which offers several additional perks including the ability to import SVG files, making the upgrade well worth it for this and other reasons.
With the basic version of Silhouette Studio, an SVG file would need to be converted to an image file format (PNG, JPEG, etc.) before importing into the program. Just a reminder, the basic version of Silhouette Studio will, however, import the DXF file format, which is like the SVG format in that it is ready as soon as you import it. No need to convert this format. - Cricut – Just like Silhouette, Cricut offers multiple options. Their offerings are the Joy, Explore, and Maker. The accompanying free program for Cricut is Design Space.
- Brother – Brother’s vinyl cutter is the ScanNCut. Canvas Workspace is Brother’s software and is free.
2. Craft Vinyl
There are two main types of “craft vinyl”. Adhesive vinyl is for sticking to things like cars, tumblers, walls, and other surfaces. Heat transfer vinyl or HTV is for putting designs on t-shirts, bags, and other fabrics.
Adhesive Vinyl
My top-pick for this is the Oracal brand. Oracal is the creme de la creme. This is what the professional sign makers use so it is good, quality stuff. There are so many things you can decorate!
Oracal vinyl can be applied to pretty much anything with a flat surface: glass, finished wood, plastic, ceramic, car windows, doors, windows, mirrors, laptops, appliances, and many others.
Oracal Vinyl Types
There are two types of Oracal vinyl most used by vinyl crafts.
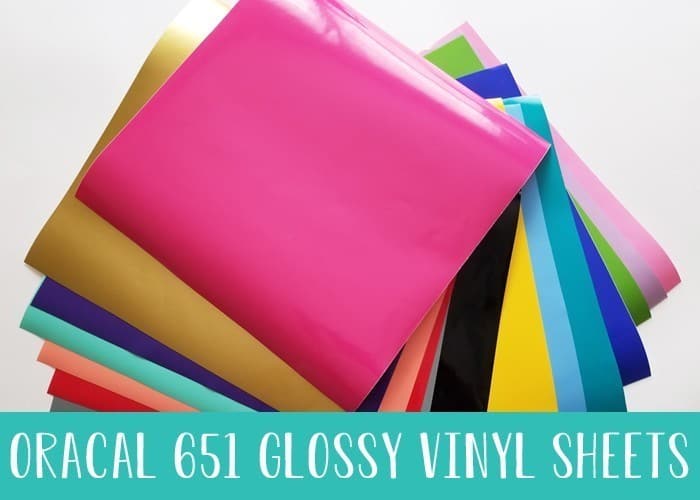
- Oracal 651 Outdoor Permanent Vinyl: Oracal 651 is made for outdoor use so it can be placed on anything that will be outside in the elements (e.g., car decals, mailbox decals) or has the chance of being exposed to moisture (e.g., any type of drinkware, cutting boards). Oracal 651 has a glossy finish.
- Oracal 631 Indoor Removable Vinyl: Oracal 631 is for indoor use and can be used on anything that won’t be outdoors or exposed to moisture. This type is perfect for home decor projects like wood signs. I also use this for all of the wall decals that I make and it works wonderfully. Oracal 631 has a matte finish.
Side Note: In the descriptions above, one says permanent and one says removable. To clarify, they are actually both removable, but the Oracal 651 is meant to be more for long term and therefore has a higher tack.
Oracal 631 could also be considered permanent or long term as long as it is placed indoors away from the elements and moisture and not on anything that has paint with non-stick qualities such as teflon, silicon, stain guard, etc. I have made many, many wall decals with Oracal 631 and it will stay put for years.
Heat Transfer Vinyl (Iron-On / HTV)
Siser Easyweed is what I use for all of my iron-on or heat press projects. It is versatile and can be placed on many fabric materials including cotton, polyester, triblends, etc.
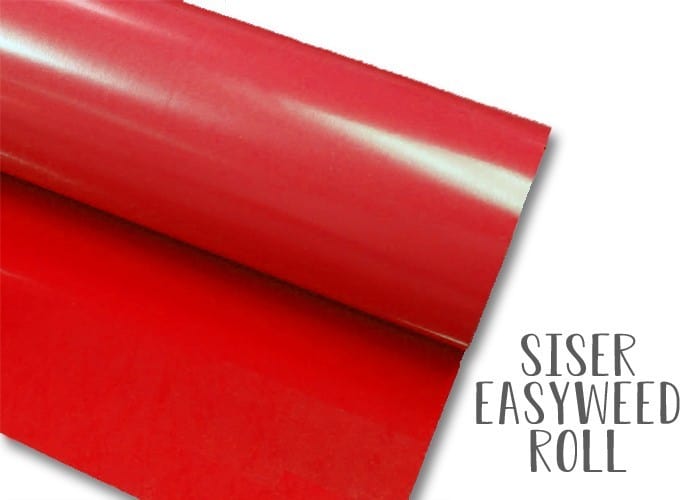
Siser Easyweed comes with a clear plastic carrier sheet affixed to the top. The carrier sheet protects the item and the HTV when heat is applied. When feeding the HTV into your cutting machine, the carrier sheet goes face down so that the blade cuts the vinyl and not the carrier sheet itself.
When using HTV, the design needs to be mirrored in the design program. Otherwise, the design will be backward once it’s applied to the garment or other product.
Also, note that the garment care recommendation for anything that has an HTV decoration is to wash inside out and in cold water.
Vinyl Sheets and Rolls
Both adhesive decal vinyl and heat transfer vinyl are sold in various sizes. You can get them in rolls or sheets. The more common vinyl cutters for crafts have a max width of 12” so this is good to remember when buying your materials.
Please note though that there are cutters that have different size capabilities. For instance, the Cricut Joy has a max width of 5.5”. Be sure to know this detail for your particular cutter as it will help when you are picking out your vinyl.
I use a lot of vinyl, so I always get mine in rolls which is cheaper in the long run if you know you will be using a lot of it. If you won’t be using that much, you can get the vinyl by sheets. The most popular size for the sheets is 12”x12” and 12”x24” for adhesive vinyl and 12”x12” and 12”x15” for HTV.
Where to Buy Craft Vinyl
There are many options when it comes to buying craft vinyl. I mostly get my vinyl online from various places depending on what I’m needing. I’ve listed websites that I have personally ordered from below.
- US Cutter: US Cutter is where I get most of my vinyl. I’ve ordered from here ever since I started my vinyl crafting journey years ago. They not only sell vinyl, but also many other supplies for vinyl crafts.
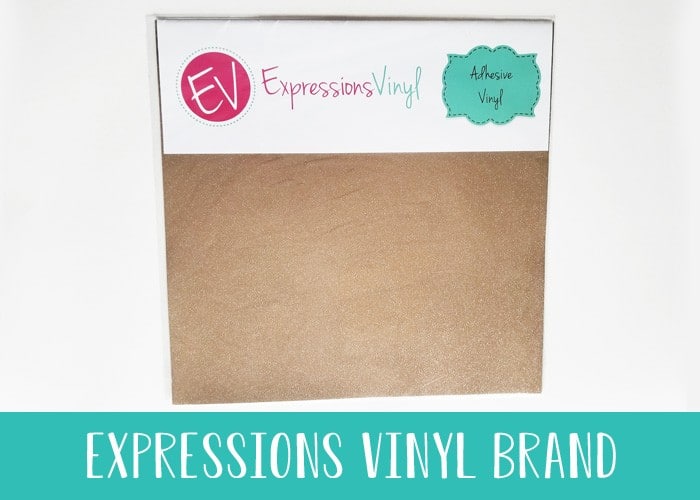
- Expressions Vinyl: Expressions Vinyl has been around for a long time also and they even have their own brand. I especially love their brand of glitter vinyl and always order my glitter vinyl from here.
- Amazon: Amazon is a convenient option if you are a Prime member because of the free 2-day shipping. There are lots of bundle options on Amazon that I love, however, it can sometimes be hit or miss depending on the seller who is supplying your order.
- Michaels, Joanns, Walmart: Some of the big box stores carry various brands and types of vinyl. What they sell is typically in smaller quantities, so the price is higher than if you were to purchase them online at a specialty shop. However, these stores are excellent options if you are just starting, just needing a small amount, or you’re in a pinch and can’t wait for shipping.
3. Designs For Your Project
You’re gonna need a design to use for your project! You can use a pre-made design that someone else has made (cut file) or create a design yourself.
Cut File Designs
If using a cut file, it will need to be in a format that your design program supports. See the first section above where I explain more on that. These files are most commonly in the SVG file format, but other formats these files can be in are DXF, PNG, or JPEG.
SVG and DXF file formats are cut-ready upon importing. Image file formats like PNG and JPEG will need to be traced in the design program to make them ready to cut.
Create Your Own Design
Unleash your creativity and make your own diy designs! You don’t need expert art skills either. Different design tools and programs can assist you in creating your design. You can also make text-only designs with various fonts or if you draw your own design, you can upload those to convert into a different file format.
Where to Find Designs for Cricut, Silhouette, and Other Craft Cutters
Countless websites exist that have vinyl files. Here are some of my favorites. Some are free and some are paid. Most sites or designers always include multiple file formats for each design, so they will be compatible with your equipment.
- SVG Spree: We have a variety of free files at SVG Spree like these: funny svg free files, dog svg free files, home decor svg files. We are always adding more designs and our downloads also include DXF, PNG, and EPS formats (for use in Adobe Illustrator) so you are covered no matter what file format you need.
- Design Bundles: Design Bundles is a marketplace that designers can sell their designs on. Design Bundles features file bundles and other design resources. They offer free and paid files.
- Etsy: Etsy is another marketplace where sellers offer their designs.
- Silhouette Design Store: If you have a Silhouette, the Silhouette Design Store offers many design files, fonts, and projects for you. They offer free and paid files and often feature design bundles and deals.
- Cricut Access: If you have a Cricut, this is a paid subscription available with designs, fonts, and ready-to-make projects. Other perks include discounts on equipment and other crafting vinyl supplies through their website.
Free Fonts for Vinyl Designs
You can make some super cute vinyl designs with text using free fonts. Here are some of my favorite places to get free fonts:
- Font Bundles: Font Bundles is a sister site to Design Bundles and they have free and paid high-quality fonts.
- DaFont.com
- Fontspace.com
- FontSquirrel.com
4. Vinyl Weeding Tool
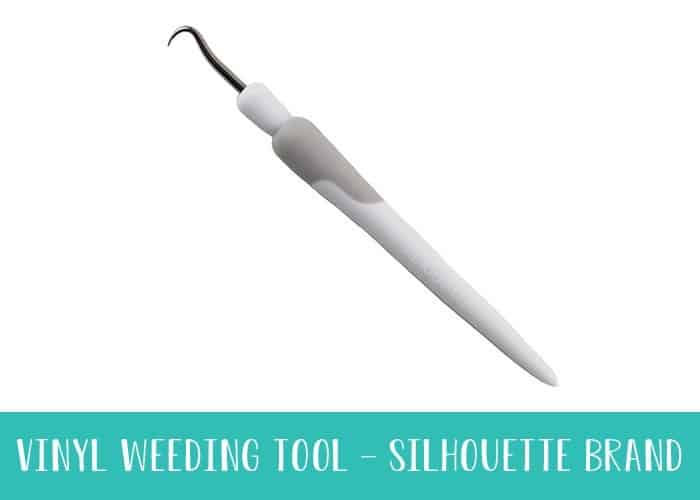
These things are life savers! The vinyl weeding tool is a hook that can remove or “weed out” all the excess pieces of the design you have cutout. All designs will have some form of excess pieces that need to be weeded, and oftentimes, these pieces are small and part of intricate designs, making this tool essential for a stress-free project!
Recommended:
Silhouette Vinyl Weeding Hook Tool
5. Transfer Tape
(Adhesive vinyl only; Transfer tape IS NOT used with heat transfer vinyl.)
Transfer tape is used to move the finished decal to the surface you wish to place it on. Because these types of decals are not a solid shape and usually are intricate designs, if you were to peel off the decal and try to apply it by hand, it would be a big ol’ jumbled mess.
The basic steps are this:
After a decal is weeded, the tape is placed on top. This makes three layers: the tape, the vinyl decal, and the decal backing. Next, the backing of the decal is removed so there are only two layers: tape and decal. Both of these are then placed together on the desired surface.
The last step is to use a squeegee (see next item below) to smooth out any air bubbles and make sure the decal is totally flat. After that, the top layer can be removed, leaving just the decal in place on the surface.
Just like most other items on this list, there are various types of this tape available. Some are more flexible and easier to work with than others. Some have a higher tack and stick better than others. There are clear types that are made of a plastic-like film and paper types which looks similar to masking tape. Some are lined with a backing and some are not.
All have pros and cons, but the what I’ve found that works best is RTape Conform 4075RLA in high tack. It works with both indoor and outdoor vinyl. It is a paper type and is more flexible than the clear type. It is also a product that sign makers use and is the industry standard for that profession. Recommended: RTape Conform 4075RLA
I love the look of the clear style and, presentation-wise, it looks nicer. However, I don’t use it because for the larger vinyl projects, it can be nearly impossible to get the vinyl to release from the tape during application and this can easily cause the decal to tear and be ruined. I know this from experience.
Some other brands and types are popular among vinyl crafters and here is a video below of Angie from The Country Chic Cottage testing them out to find which are the best. I have not personally used these brands, but you can see in the video how they work and also look at their reviews to see how they worked for other crafters.
Spoiler alert! All of the brands mentioned in the video work, but the Vinyl Ease and Expressions Vinyl were the top picks when factoring in the price as well. Here are links to the brands mentioned in the video:
6. Cutting Mat
Cutting mats are used to hold material in place while the machine cuts. They have an adhesive surface that will grip the material and keep it in place.
Vinyl doesn’t always need a mat because it is lined with a backing. Materials without a backing, like cardstock or other types of paper, will always need to be used with a mat.
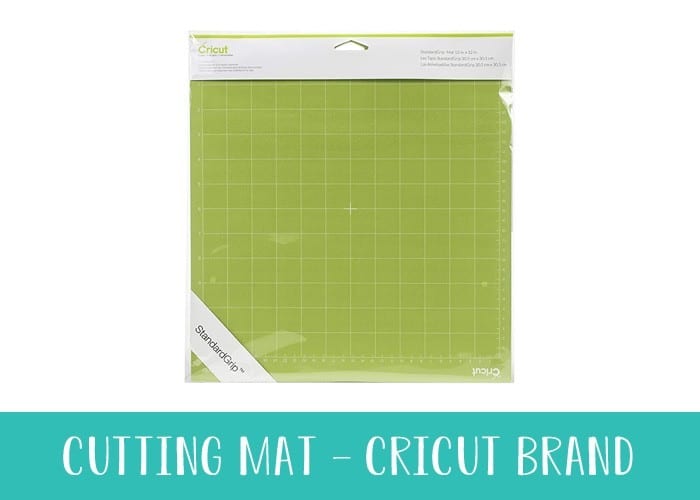
So when do you need a cutting mat for vinyl? When the vinyl piece you are working with is too small to be fed under the rollers of the cutter. Since you most certainly will have many vinyl scraps and smaller pieces leftover from past projects, these mats allow these pieces to be used for other projects and not go to waste.
Most cutting machines do come with a mat as an included accessory if you are buying them brand new.
7. Scissors
Yay! Something you probably already have laying around the house! I think we can all appreciate the value of a good pair of these. You will need scissors at multiple stages of the process.
They’re are also good to have around to trim the final product to make it look nicer if you are giving the decal as a gift or sending to a customer.
8. Tape measure or ruler
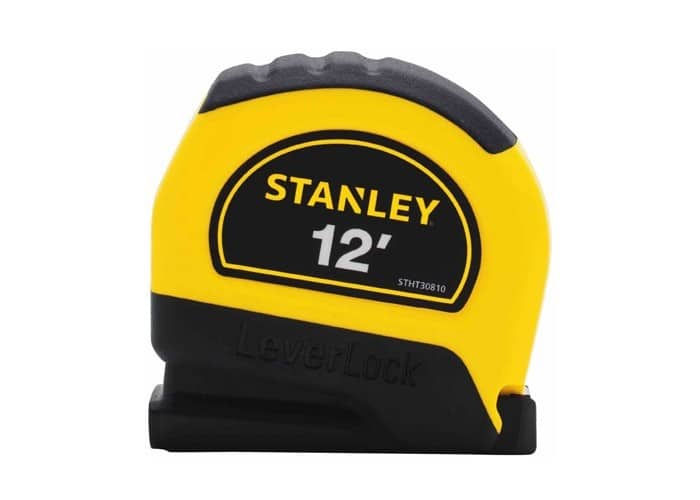
A measuring tape is another one of the craft vinyl supplies you may already have on hand. I use my measuring tape for measuring the surface I will be placing my design on to make sure I know what size to make my decal or heat transfer design. I also measure the piece of vinyl that I am going to be cutting on.
Here is the one that I personally use. It is lightweight and the perfect size for getting quick measurements: Stanley Tape Measure
9. Vinyl Application Squeegee Tool
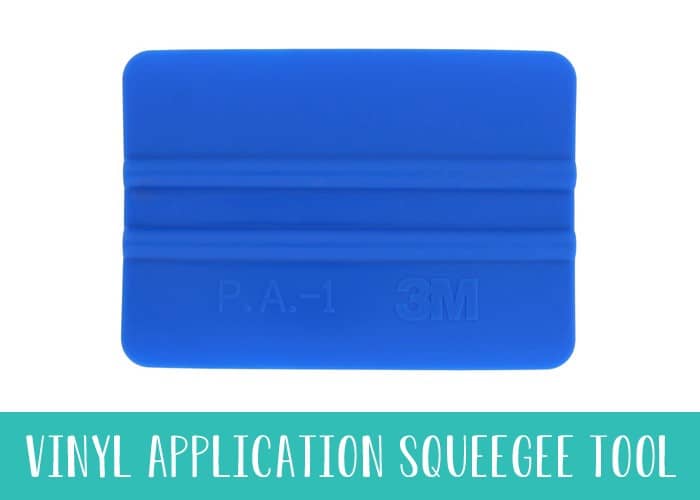
A vinyl application squeegee is a tool that is rubbed over the tape and decal during application to smooth out any air bubbles and make the vinyl stick to the item. This is to make sure the decal is flat against the surface before the final step of removing the top tape layer.
Vinyl application squeegees are mostly only used for adhesive vinyl; not HTV. There are some instances where you may need to use this tool for HTV like if you are adding a carrier sheet. As mentioned above, Siser Easyweed HTV already has the carrier sheet affixed, but there are some types of HTV that a carrier sheet would need to be applied to before use. Recommended: Vinyl Application Squeegee Tool
10. Heat Press / Iron / Cricut Easypress
(Heat Transfer Vinyl only)
To apply your HTV cutout onto your item, you will need a heat source to make it adhere and bond to the item you are decorating.
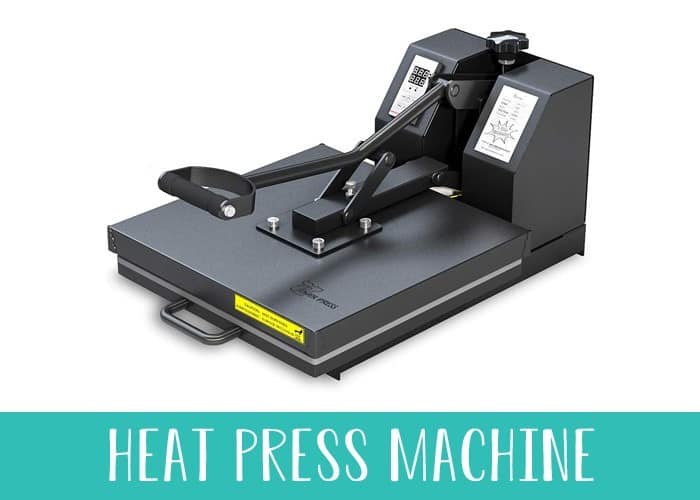
I currently use a heat press but for many years, just used a regular household iron and it worked fine. The reason I switched to a heat press was that I was selling shirts for a moment and sometimes would have larger orders. The heat press helped speed up the process greatly.
Recommended Heat Press: Powerpress Heat Press
Just an FYI, if you plan on using an iron, I recommend using one that is lightweight like the one I’ve linked here. It is similar to the one I used for years and it is under $10 at Walmart. The larger, bulkier irons will tire your arm out really quickly if you have multiple things to press.
Cricut EasyPress
Another option is the Easypress. The Easypress is like a heatpress/iron hybrid. The heat plate is a solid square like a heat press, but it has a handle like an iron.
This would have been so handy in my ironing days. One downside of using the iron is that sometimes it can leave behind a crease in the shape of, you guess it, an iron! Another downside it that sometimes the heat isn’t evenly distributed. The Easypress solves these problems!
Another great thing about the Easypress is it works just like a heatpress, without being big and bulky. A heatpress can take up a considerable amount of room, so if your crafting space isn’t the biggest, a heat press machine may not be the best choice.
Recommended: Cricut EasyPress
The Easypress comes in 3 different sizes: 12”x10”, 9”x9”, and the Mini 1.92” x 3.25”. The Easypress Mini is perfect for applying HTV onto not-so-flat and hard-to-reach surfaces.
Check out this video of the Easypress in action.
Wrap Up
Ok, so there it is. If you’re thinking of starting vinyl crafting but aren’t sure where to start, I hope you find these tips and information helpful. This list is just the basic necessities that you need to get started making vinyl crafts. However, the sky’s the limit and once you get the basics down, you’ll master your vinyl crafting techniques in no time. Do you use any items from this list? I would love to hear your thoughts on these or other fun ideas you’ve tried and recommend!